


Premium Home Solar Solutions
Reduce Energy Expenses with Solar Energy
We make sustainable living affordable for every Canadian. By leveraging generous government incentives and exclusive Polaron solar rebates, we provide turnkey home solar energy systems with flexible monthly payments designed to fit your budget.


6 Reasons to Install Solar Panels
A Smart, Long-Term Financial Investment

Drastically Reduce Bills
A permanent answer to rising utility rates, keep your money in your pocket by avoiding expensive peak rates.
Increase Property Value
Modern home solar is considered the smartest functional upgrade for a residential property.
Leverage Exclusive Rebates
Cut your installation costs further by stacking provincial grants with Polaron's internal incentives when they are available.
Total Energy Independence
Take control of your power and stop relying solely on the aging utility grid.
Industry-Leading Longevity
Peace of mind comes standard with our robust workmanship, performance, and product warranties.
Eco-Friendly Impact
Say "yes" to a cleaner, brighter future for the next generation.
The Science of Solar Energy Systems in Net Metering Setup
Generate Clean Energy All Year Round
Day Time
Your solar panels absorb sunlight and produce Direct Current (DC) electricity. Our high-efficiency inverters convert this into usable Alternating Current (AC) for your home. Any excess power is automatically sent back to the grid, earning you energy credits via Net Metering.
Night Time
When the sun sets, your home seamlessly draws electricity from the grid. You’ll use the credits you earned during the day to offset your nighttime consumption, ensuring uninterrupted, 24/7 power.
Industry-Leading Brands
Top-Tier Hardware for Your Home Solar System
Gold Standard in High-Performance Solar Technology
Monocrystalline Solar Panels
Built to withstand Canada’s weather
Premium quality and long-term reliability
Industry-leading efficiency and power output
AAA-rated brand trusted worldwide

Global leader in high-performance solar technology
Microinverters
97% efficiency with reactive power control
Supports multiple panels per inverter
No high-voltage hazards for maximum home safety
Reliable performance in shade or low-light conditions


Complete, Weather-Resistant Mounting Solution
Racking System
Rust-resistant anodized aluminum, ideal for coastal areas
CSA Certified
Includes complimentary critter guard
Serving in 6 Provinces
Our Canadian Solar Footprint


Site Assessment Report (SAR)
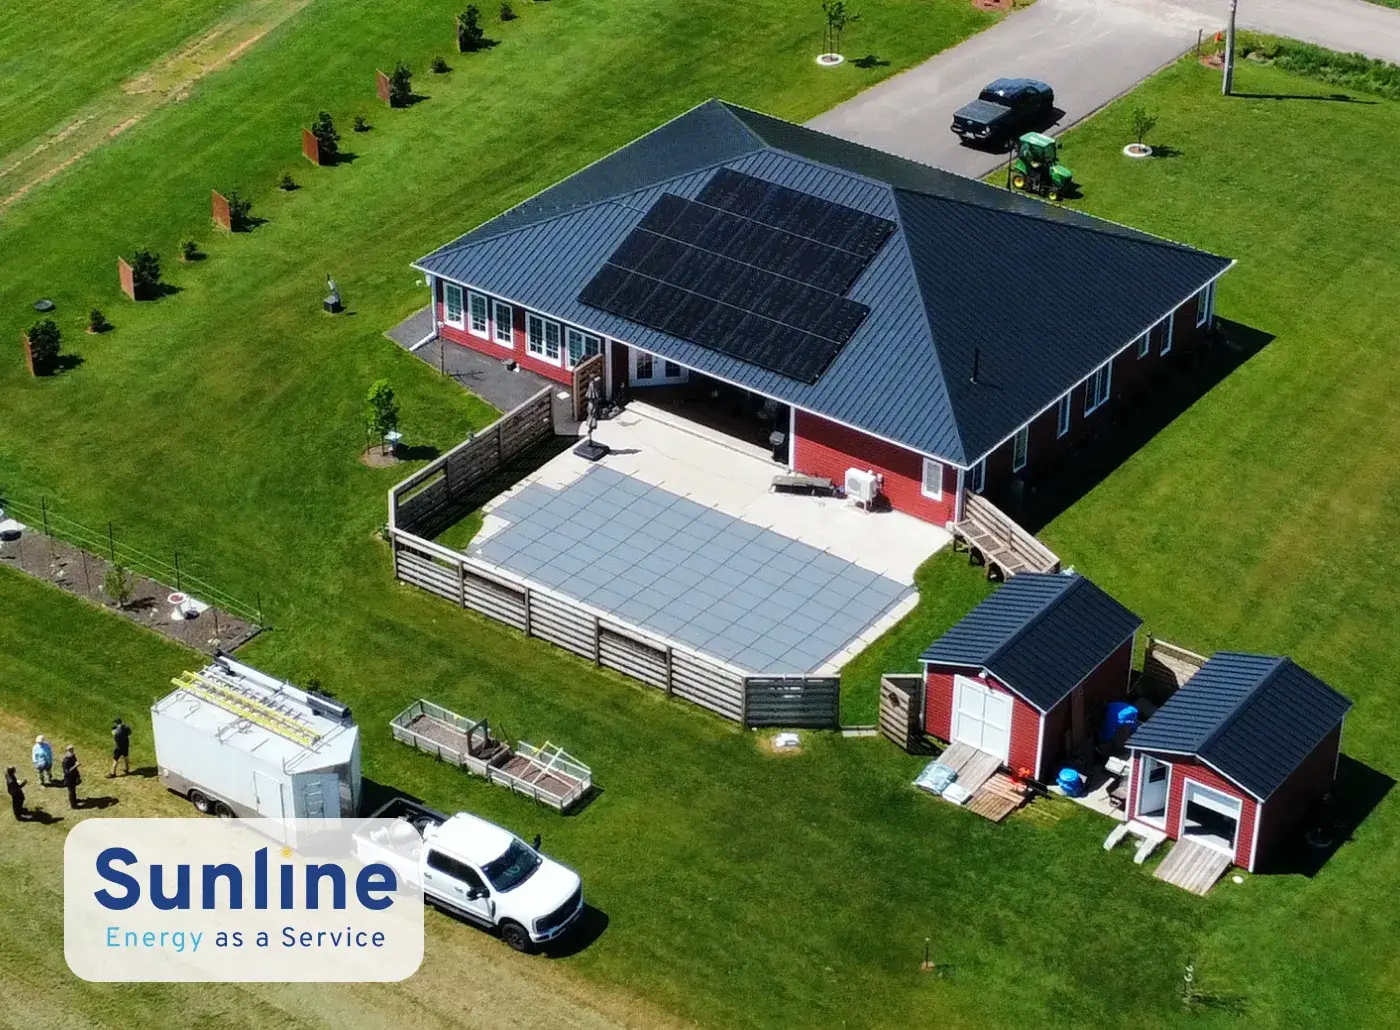
Pioneer in 3D Measurement Simulations with Drone Technology
We provide a detailed Site Assessment Report before your solar panels are installed. Using advanced drone technology and 3D simulations, we provide total transparency regarding your roof's condition and building structure. This professional engineering review eliminates technical hurdles before they happen.


Your SAR Includes:
Structural Condition
Roof Condition
Existing Electrical Condition
Panel Layout
Wiring Route
BOS Design
Additional Costs
Polaron Financing Program: Energy-as-a-Service (Sunline)
Finance Your Home Solar Future
The upfront cost of a home solar system shouldn't stand in your way. Our Sunline EAAS program offers accessible monthly payments with ultra-low interest rates, or even 0% financing in select regions.
Interest Rates:
As low as 0%*
Flexible terms:
Up to 15 years*
*Financing terms vary by province; contact us for local details.
Needs Assessment
We analyze your monthly utility bills, home electricity consumption, and roof health to calculate your property's precise solar potential.

Custom Design
Our engineering team builds a tailored system layout optimized for maximum sunlight absorption, structural feasibility, and winter performance.

Proposal & Agreement
Receive a comprehensive quote outlining your projected energy savings, total solar panel costs, localized rebates, and flexible financing options.

Planning & Permits
We handle the entire bureaucratic process for you, securing municipal building permits, electrical safety approvals, and utility net metering applications.

Installation & Commissioning
Our experienced solar installers securely mount your weather-resilient racking, wire your microinverters, and thoroughly test the system for peak safety.

Handover & Warranty Start
We activate your real-time mobile tracking app and lock in your multi-decade solar panel warranty, officially turning on your clean power.

Is my roof actually suitable for a home solar installation?

Is my roof actually suitable for a home solar installation?
Most roofs are! During our Site Assessment Report, we check your roof's orientation, pitch, and structural integrity. If your roof is older, we may suggest a replacement first to ensure your solar panels and roof have matching lifespans.
How much can I realistically save on my hydro bill?

How much can I realistically save on my hydro bill?
Depending on your province, weather and system size, many homeowners see an 80-100% reduction in their electricity costs. With our Sunline Financing, the goal is often to have your solar payment be lower than your current utility bill.
Do solar panels work during a Canadian winter?
Do solar panels work during a Canadian winter?
Yes! Cold temperatures actually improve panel efficiency. While production is lower in winter due to shorter days, our weather-resilient solar installation ensure snow sheds quickly so you can continue generating power.
What is "Net Metering" and how does it benefit me?
What is "Net Metering" and how does it benefit me?
Net Metering allows you to send excess solar energy back to the grid during the day. Your utility provider then gives you credits that you can use at night, effectively using the grid as a giant "virtual battery."
How long will my home solar energy system last?
How long will my home solar energy system last?
Our tier-1 panels (like LONGi) are designed to last 25–30 years. Polaron provides robust warranties to ensure your investment is protected for decades to come.
